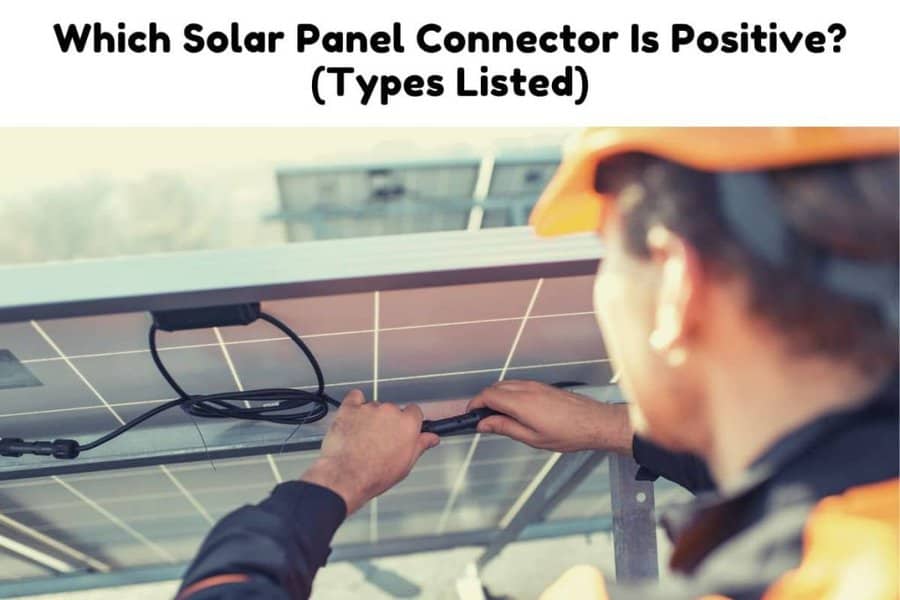
Installing a solar system yourself can knock off up to $3000 from the final cost. While a DIY installation can save on costs it can be expensive in terms of time if done without adequate planning and information.
A solar panel has different wires and connectors that connect it to the rest of the system. In this article, we look at connectors. What are they for and how do you identify them? We also look at the terminals in a solar panel. How do you tell between the positive and negative terminal and what happens if you connect a solar panel the wrong way?

How Do You Tell The Positive And Negative Terminal Of A Solar Panel?
Most solar panels will have the polarities of the terminals labeled. If the polarities are not labeled, two methods can be used to check. The first is by looking at the diode and the second is by testing with a multimeter.
Method 1: Visual inspection
With this method, you are looking for the side of the diode with the stripe inside the junction box of the solar panel. The striped side will point in the direction of the positive terminal.
On a side note! If you’re in need of a reliable and high-performance portable solar panel, We strongly recommend the Jackery SolarSaga 100W Portable Solar Panel (Amazon Link).
With a high conversion efficiency and foldable design, this solar panel is easy to transport and set up, making it perfect for outdoor activities like camping, hiking, and RV trips.

The US solar cell technology used in this panel ensures that you get the most efficient and reliable solar charging possible.
There is also a 60W option that is more affordable (Amazon Link)
For more on this, we recommend that you check out our post What Is A Junction Box In A Solar Panel? Its Function – (Complete Guide)
Method 2: Multimeter testing
This is the surest way to find out the polarity in a solar panel. Using a multimeter:
- Set your meter to read volts.
- Open the junction box to expose the terminals.
- Place the positive lead on one terminal and the negative lead on the other. Measure the voltage.
- If the voltage displayed is a negative number, then it means the polarities between the multimeter and solar panel are reversed. The positive lead is on the negative terminal and the negative lead is on the positive. If the voltage is a positive number, then the polarities are correct. Either of the results tells you the polarities of the terminals.
What Are The Different Solar Panel Connectors?
Solar panel connectors are used to link solar panels to each other and connect to the rest of the solar system. Two connectors work in tandem. These are male and female connectors that snap together to form a link. There are many types of male-female connectors which include MC3, MC4, and PV connectors for example.
Solar connectors also come in different shapes. They can be T-Joint, U-Joint, X-Joint, or Y-Joint. Before connectors, you had to manually attach your conductors to the terminals in your solar panel. This is still the case with older model solar panels.
Fortunately, solar panel design has evolved and newer models come pre-installed with connectors making the connection of solar panels much quicker and easier. Source
MC4 Connectors
These are the most common connectors used. They are quickly becoming the default connector as most solar panel manufacturers use them. Other system components like the inverter and power optimizers you choose will most likely use an MC4 connector. Even if they do not, there is a good chance they will be MC4 compatible.
MC4 connectors are named after Multi-Contact, the manufacturer’s brand name. Made from UV-resistant material, MC4 connectors are National Electrical Code compliant and the preferred connection method for electrical inspectors. They’re also fully weatherproof.
MC4 connectors have a lock mechanism to couple the male and female connectors. Once the male and female connectors are locked in you need an MC4 disconnect or unlocking tool to decouple the connectors.
There are different brands of MC4 connectors including Amphenol and Tyco for example. You should check what type of connector your system components use to avoid compatibility issues arising when you hook up your system. This is especially important for older generation solar panels. Source
How Do You Install A Solar Panel Connector? (Step by Step)
The main steps involved in installing a solar panel connector are preparing the wire, and inserting the pins into the connectors before finally linking the connectors.
Let’s look at each of these steps in detail.
Step 1: Prepare the wire
The first step is to cut the wire to your required length. Make sure to use the appropriate size of wire. Most MC4 connectors are compatible with 10-, 12- and 14-gauge wires. Strip the ends to expose the wire.
Tools required: Wire cutter and stripper.
Also check out our posts on Can You Use AC Cable For Solar Panels? What Are Your Options ! & Can You Use THNN Wire For Solar Panels? What Are Your Options!
Step 2: Crimping
Once you’ve prepared the wire, you need to crimp it to the pin. This securely attaches the wire to the pin that will go into the connector.
Tools required: Metal pins and MC4 crimper.
Step 3: Inserting pins into connectors
Once you’ve crimped the wire into the pins you can insert the pin into the connector. Remove the end cap and compression sleeve of the male connector. The female pin goes into the male connector. Slide it in until it clicks. Screw the cap and sleeve in place. Repeat the same process for the male pin and female connector. Make sure to tighten them.
Tools required: MC4 disconnect
Step 4: Connect the MC4 connector
The last step is to push the male and female connectors until they click into place. You should hear the audible click when they do. Then test your connection with a voltmeter.
What Happens If You Hook Up A Solar Panel Backwards?
If a solar panel is wired backward, it can still work. It will, however, not work as effectively. All the components in a solar system should be wired using the correct polarities. Positive terminals in the solar panels, charge controller, inverter, and batteries should be wired together.
Incorrect wiring can happen when there is confusion regarding the connectors which might not be labeled according to their polarities.
A likely scenario that can occur in the case of a reverse connection is blowing a fuse in one of the system components. The solar panels themselves will not experience any critical damage although there is a small risk it may happen.
Solar panels have bypass diodes that prevent current from flowing backward. The main reason for this is to prevent the batteries in a solar system from being drained by the solar panels when they are not generating current. This is what is commonly referred to as reverse polarity protection.
Also, check out “How Long Before Solar Panels Start Working? (How to Check if It’s Working!)“

